What Is a Wainscoting Calculator?
Wainscoting is decorative wood paneling applied to the lower portion of interior walls. This calculator helps you estimate two essential numbers for a paneling project: how many individual panels you need to wrap a room, and the total surface area the wainscoting will cover. Knowing both up front saves trips to the store and prevents over-buying.
How to Use It
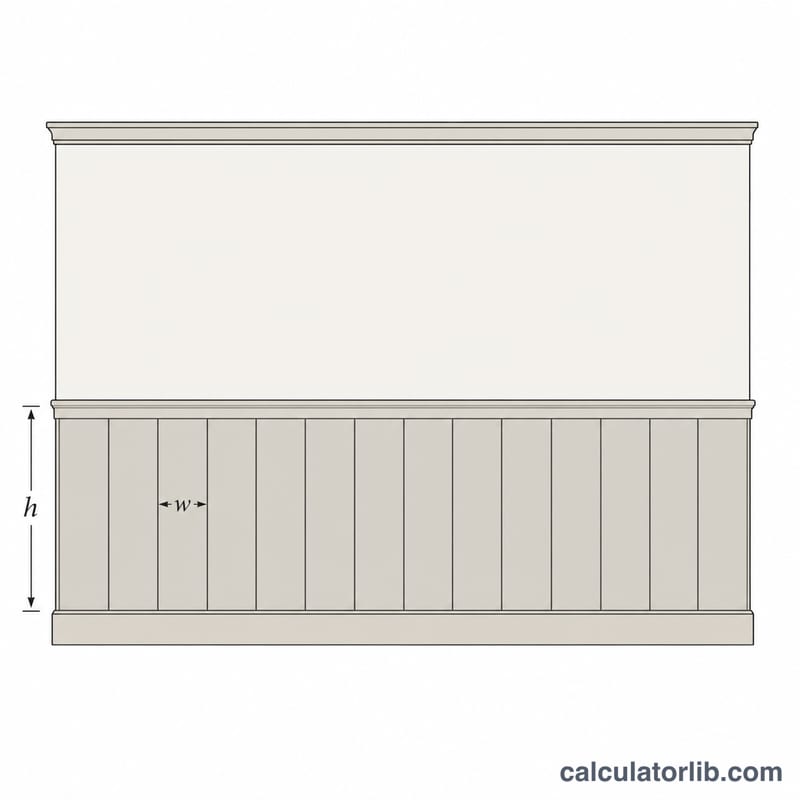
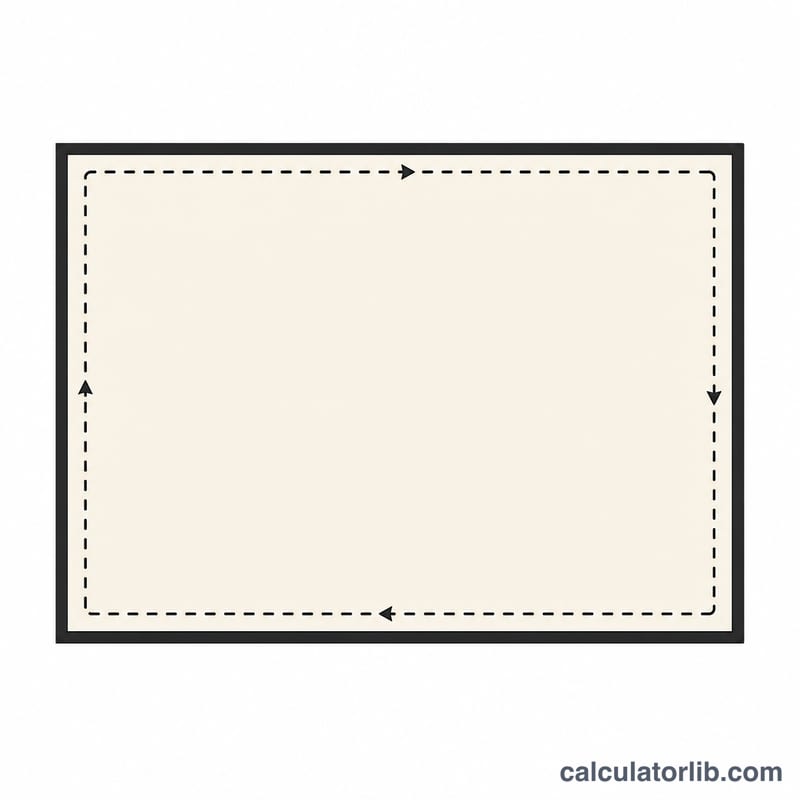
Measure the perimeter of the room (add up the length of every wall you plan to panel) and enter it in feet. Enter the width of a single panel and the height you want the wainscoting to reach from the floor. The calculator divides the perimeter by the panel width and rounds up, because partial panels still require a full board, then multiplies perimeter by height for total coverage.
The Formula Explained
The panel count uses a ceiling function: \(\text{panels} = \left\lceil \frac{\text{perimeter}}{\text{panelWidth}} \right\rceil\). Rounding up guarantees you have enough material to finish the last gap. The coverage area is simply \(\text{area} = \text{perimeter} \times \text{height}\), useful when buying sheet goods or estimating paint, primer and adhesive. For trimmed sections like doors and windows you can subtract those widths from the perimeter before entering it.
Worked Example
Suppose a room has a 40 ft perimeter, you use 1.5 ft wide panels, and want wainscoting 3 ft tall.
$$\text{Panels} = \left\lceil \frac{40}{1.5} \right\rceil = \left\lceil 26.67 \right\rceil = 27 \text{ panels}$$$$\text{Area} = 40 \times 3 = 120 \text{ square feet}$$Buy a couple of extra panels to allow for cuts and waste.
Typical Wainscoting Heights and Panel Sizes
Wainscoting height is mostly a design choice, but a few conventions keep the proportions looking right. The sizes below are common in North American residential work; check your product's actual dimensions before you enter them in the calculator.
| Style | Typical height | In feet |
|---|---|---|
| Standard / chair-rail style | 30-36 in. | 2.5-3 ft |
| Common range for most rooms | 32-36 in. | about 2.67-3 ft |
| Formal, Shaker or tall raised-panel | 42-60 in. | 3.5-5 ft |
Rule of thumb: make wainscoting about one-third of the ceiling height. On an 8 ft (96 in.) ceiling that is about 32 in. (2.67 ft); on a 9 ft ceiling it is about 36 in. (3 ft). Going taller than one-third makes a room feel heavier, though formal dining rooms and traditional styles often go to two-fifths or even half the wall.
| Panel type | Common width |
|---|---|
| Sheet panels (e.g. beadboard or MDF sheets) | 4 ft (48 in.) wide |
| Beadboard planks / tongue-and-groove boards | 3.5-5.5 in. (about 0.29-0.46 ft) |
| Individual raised or flat panels (frames or kits) | 12-24 in. (1-2 ft) |
Enter the panel width in feet in the calculator (for example, 18 in. = 1.5 ft). The height field is the finished wainscoting height in feet, so 36 in. is 3 ft.
Panel Count and Coverage for Different Room Sizes
The calculator uses \(\text{Panels} = \lceil \text{Perimeter} \div \text{Panel Width} \rceil\) and \(\text{Area} = \text{Perimeter} \times \text{Height}\). The table shows four sample rooms; the last column adds 10% waste to the rounded-up panel count and rounds up again. All perimeters are full wall runs with no door or window deductions.
| Room | Perimeter | Panel width | Height | Panels needed | Coverage | Panels with 10% waste |
|---|---|---|---|---|---|---|
| Bathroom | 36 ft | 4 ft | 3 ft | 9 | 108 sq ft | 10 |
| Bedroom | 40 ft | 2 ft | 3 ft | 20 | 120 sq ft | 22 |
| Dining room | 60 ft | 1.5 ft | 3.5 ft | 40 | 210 sq ft | 44 |
| Hallway / open room | 80 ft | 4 ft | 3 ft | 20 | 240 sq ft | 22 |
Example substitution (dining room): \(\lceil 60 \div 1.5 \rceil = \lceil 40 \rceil = 40\) panels, and \(60 \times 3.5 = 210\) sq ft. Adding 10%: \(40 \times 1.1 = 44\) panels.
Note that the area figure is simply the wall strip being covered; it does not change with panel width, while the panel count does.
Practical Tips for Ordering and Installing Panels
- Subtract openings. Measure the perimeter, then subtract the widths of doors, full-height windows and other openings where wainscoting will not run. Windows with sills above the wainscoting height need no deduction.
- Add waste. Order about 10% extra for cuts, outlets and mistakes. Use about 15% for diagonal, herringbone or patterned layouts, which produce more offcuts.
- Plan corners. Inside and outside corners eat into panel widths and may need corner trim or mitered pieces, so count them separately and check your layout so you do not end with a thin sliver panel at a corner.
- Order trim separately. Baseboard, cap rail or chair rail, stiles and rails, and any shoe or corner molding are bought by linear foot. The perimeter (minus openings) is the starting point for the cap and base, but add extra for miter cuts.
- Match batches. Buy everything from the same production lot so color, grain and finish are consistent. If you must reorder later, tones may differ slightly.
- Acclimate wood panels. Let wood or MDF panels sit in the room, loosely stacked with spacers, for 48-72 hours before installing so they adjust to the room's humidity. This reduces gaps and warping afterward. Follow the manufacturer's instructions if they differ.
- Check the walls. Locate studs, level a reference line at the chosen height, and test-fit a few panels before fastening or gluing.
This calculator gives an estimate based on the measurements you enter; always confirm quantities against your product's actual dimensions and the supplier's guidance.
FAQ
Should I account for waste? Yes—add about 10% extra material for cuts, mistakes and matching grain.
Do doors and windows count? Subtract their widths from the perimeter if the wainscoting stops there, or leave them in for a quick over-estimate.
What units should I use? Use consistent feet for all three inputs; the area result is in square feet.