What this calculator does
The Dovetail Spacing Calculator turns two simple measurements — your board width and the number of full pins you want — into an exact, evenly spaced layout for a dovetail joint. It reports the center-to-center spacing, the number of tails, and the precise position of every pin and tail center measured from one edge of the board, so you can transfer marks straight to your workpiece.
The formula
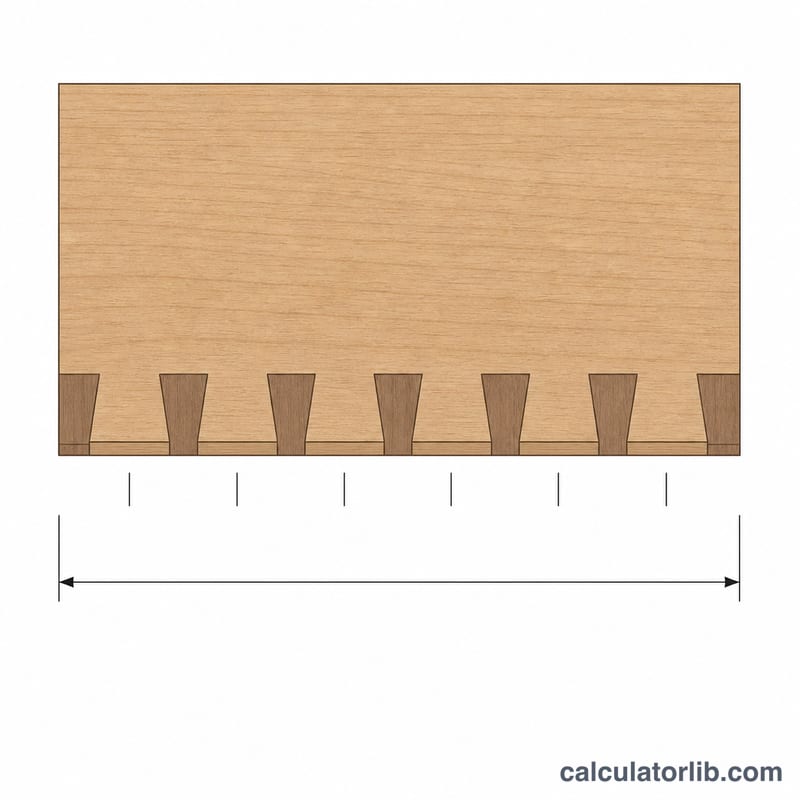
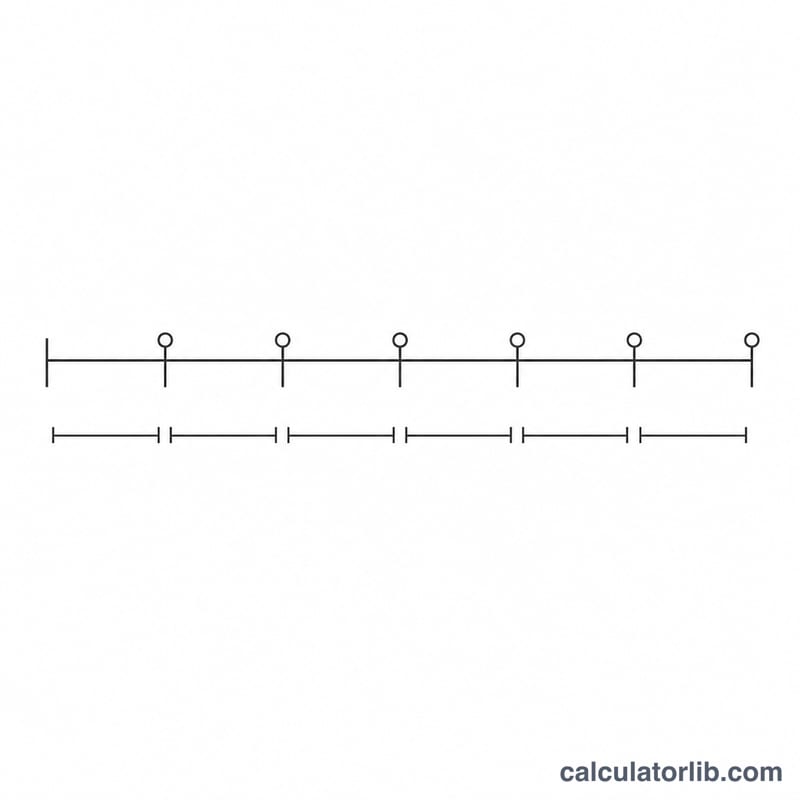
With board width \(W\) and \(N\) full pins, the pins divide the width into \(N + 1\) equal segments. The even spacing between adjacent pin centers is:
$$s = \frac{W}{N + 1}$$Each pin center sits at \(p_i = i \times s\) for \(i = 1, 2, \dots, N\). The tails fall in the gaps, giving \(N + 1\) tails whose centers land at the midpoints, \(t_j = \left(j - \tfrac{1}{2}\right) s\).
How to use it
Enter the finished width of the board in millimetres and the number of pins you plan to cut. The calculator returns the spacing and a list of positions. Mark each pin center with a marking gauge, then set your dovetail marker to scribe the walls. Half the spacing on each side of a center line defines the neck of each pin.
Worked example
For a board \(W = 240\) mm wide with \(N = 3\) pins:
$$s = \frac{240}{3 + 1} = 60\,\text{mm}$$The pin centers land at \(60\), \(120\), and \(180\) mm, producing \(4\) tails whose centers sit at \(30\), \(90\), \(150\), and \(210\) mm.
Spacing Across Common Board Widths & Pin Counts
Center-to-center spacing between adjacent layout marks is found by dividing the board width by one more than the pin count: \( s = \dfrac{W}{N + 1} \). Adding 1 accounts for the half-pin (or half-space) that falls at each edge of the board, so the marks come out evenly distributed across the full width. The table below shows the resulting spacing in millimetres for a range of realistic board widths against 2 to 5 pins. All values are rounded to two decimals.
| Board width W (mm) | 2 pins (÷3) | 3 pins (÷4) | 4 pins (÷5) | 5 pins (÷6) |
|---|---|---|---|---|
| 100 | 33.33 | 25.00 | 20.00 | 16.67 |
| 150 | 50.00 | 37.50 | 30.00 | 25.00 |
| 200 | 66.67 | 50.00 | 40.00 | 33.33 |
| 240 | 80.00 | 60.00 | 48.00 | 40.00 |
| 300 | 100.00 | 75.00 | 60.00 | 50.00 |
Reading down a column shows how spacing grows with board width at a fixed pin count; reading across a row shows how adding pins tightens the spacing on a board of the same width. For example, a 200 mm board laid out with 4 pins gives a center-to-center spacing of \( s = \dfrac{200}{4 + 1} = 40.00 \) mm.
Practical Layout Recommendations
The spacing figure is only a starting point — how you translate it onto the wood is what makes the joint look right. These are general woodworking tips, not fixed standards, so adapt them to your stock, tools, and style.
- Scale pin count to board width. As a rough rule of thumb, narrow boards (roughly under 100 mm) often look balanced with just 1–2 pins, mid-width boards (around 100–200 mm) with 2–4 pins, and wider boards (200 mm and up) with 4 or more pins. Add pins as the board grows so the center-to-center spacing stays sensible rather than leaving large gaps.
- Round the width to a clean measurement first. If your board is 199 mm, planing or treating it as 200 mm before you divide gives tidier spacing numbers (e.g. 40.00 mm instead of 39.80 mm) that are far easier to mark and step off accurately.
- Step off the computed centers with dividers or a marking gauge. Set a pair of dividers to the calculated spacing and walk them across the board to lay out consistent center marks, using a marking gauge to carry the baseline around from the board thickness. This is more repeatable than measuring each mark separately with a rule.
- Vary pin and tail width to taste. Even spacing sets the centers; the actual width of each pin versus tail is an aesthetic choice. Thin pins with wide tails read as fine, hand-cut joinery, while wider pins look sturdier — the calculator fixes where the marks land, not how fat each pin is.
- Cut a test joint in scrap first. Before committing to your final stock, mark and cut a sample joint in offcuts of the same thickness. It confirms your spacing looks right, checks your saw and chisel technique, and catches fit problems while they are still cheap to fix.
This is general guidance to help you lay out a joint; results depend on your material and workmanship, so always verify on scrap before cutting your final pieces.
FAQ
Does the pin count include half-pins? No — enter only the full pins. The layout naturally leaves a tail (not a half-pin) at each edge in this evenly spaced model.
Can I use inches? Yes. The math is unit-agnostic; just enter the width in whatever unit you work in and read the results in that same unit.
Why is spacing based on \(N + 1\)? Because \(N\) pins create \(N + 1\) equal gaps across the width, which keeps every tail the same size for a balanced, professional-looking joint.