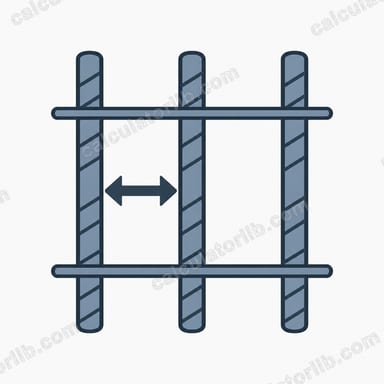
What the Rebar Spacing Calculator Does
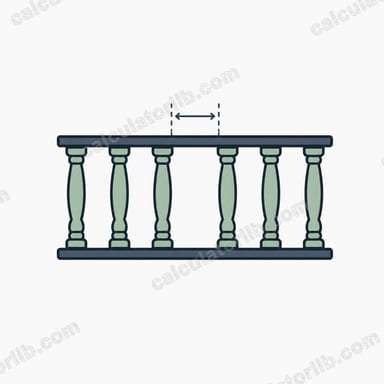
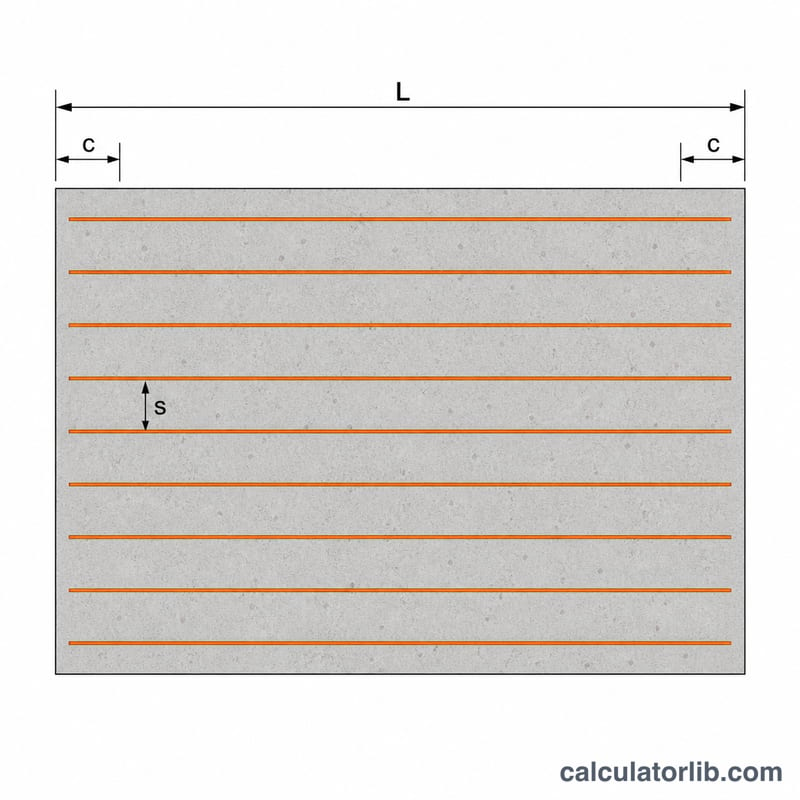
This tool tells you how many reinforcing bars (rebar) you need across one direction of a concrete slab, footing, or wall, and the exact center-to-center spacing to lay them out evenly. You give it the slab length in the bar direction, your target spacing, and the edge cover (clear distance from the slab edge to the first bar on each side). It returns the whole-bar count and the actual spacing once the bars are distributed evenly across the available span.
How to Use It
Enter the slab dimension measured along the run of bars, the spacing your design or code calls for (for example 12 in on center), and the cover per side. The calculator subtracts cover from both edges, fits as many full spacings as possible, and adds a final closing bar. Repeat the calculation for the perpendicular direction to size a full mat.
The Formula
With \(L\) = slab length in the bar direction, \(c\) = edge cover per side, and \(s\) = desired spacing, the covered span is \(L - 2c\). The number of bars is:
$$N = \left\lfloor \frac{L - 2c}{s} \right\rfloor + 1$$Because the floor rounds down, the bars are then re-spaced evenly across the same span:
$$s_{actual} = \frac{L - 2c}{N - 1}$$Worked Example
For a slab \(L = 120\) in with \(c = 3\) in cover and target spacing \(s = 12\) in, the span is:
$$L - 2c = 120 - 6 = 114\,\text{in}$$$$N = \left\lfloor \frac{114}{12} \right\rfloor + 1 = 9 + 1 = 10\ \text{bars}$$$$s_{actual} = \frac{114}{10 - 1} = 12.67\,\text{in}$$Standard Rebar Sizes & Recommended Spacing
US rebar is designated by a number that equals the bar diameter in eighths of an inch — so a #4 bar is \(4/8 = 0.5\) in in diameter. The table below lists the common bar sizes used in residential and light-commercial slabs, along with typical center-to-center spacing ranges and minimum concrete cover requirements based on ACI 318 exposure conditions.
| Bar size | Diameter (in) | Diameter (mm) | Typical slab spacing (on center) |
|---|---|---|---|
| #3 | 0.375 | 9.5 | 12–18 in |
| #4 | 0.500 | 12.7 | 12–18 in |
| #5 | 0.625 | 15.9 | 12–16 in |
| #6 | 0.750 | 19.1 | 10–16 in |
| #7 | 0.875 | 22.2 | 8–14 in |
| #8 | 1.000 | 25.4 | 8–12 in |
Most residential slabs and driveways use #3 or #4 bar at 12–18 in on center in a grid mat. Heavier structural slabs move to #5 and larger with tighter spacing.
Minimum concrete cover by exposure
| Exposure condition | Minimum cover |
|---|---|
| Concrete cast against and permanently exposed to earth | 3 in (75 mm) |
| Concrete exposed to earth or weather (#6–#18 bars) | 2 in (50 mm) |
| Concrete exposed to earth or weather (#5 and smaller) | 1.5 in (40 mm) |
| Interior slabs not exposed to weather or ground | 0.75 in (20 mm) |
The cover input in this calculator is the clear distance from the slab edge to the center of the first bar. Use it to keep the outer bars set back from the forms so the concrete fully encases the steel.
Practical Layout Recommendations
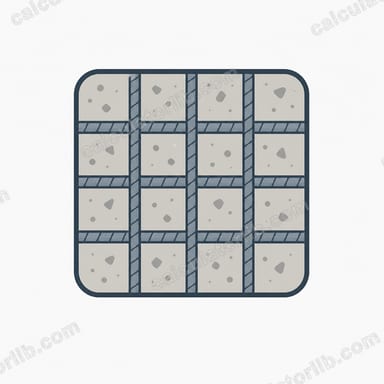
- Run both directions for a mat. A slab reinforced with a grid needs the calculation done once for the length and once for the width. Total bar count is the sum of both directions, and the two layers are tied at every intersection to form the mat.
- Round toward tighter spacing. The default formula can leave the actual spacing slightly above your target. When the spec sets a maximum on-center distance, add one extra bar in that direction so the actual spacing lands at or below the target rather than above it.
- Verify actual spacing meets code. After computing the count, confirm the resulting center-to-center distance satisfies both the maximum spacing (often 3× the slab thickness or 18 in, whichever is less) and the minimum clear spacing between bars (at least one bar diameter or 1 in).
- Order extra for laps and waste. Where bars are spliced end to end, allow a lap of roughly 40–50 bar diameters (about 20–25 in for #4 bar). Buy 5–10% more steel than the raw count to cover laps, cutting waste, and miscounts.
- Check cover on every edge. Keep the outer bars set back from the forms by the cover distance so concrete fully encases the steel and protects it from corrosion.
This is general construction guidance. Always follow your project's structural drawings, local building code, and any engineer's specifications, which take precedence over rule-of-thumb values.
FAQ
Why is the actual spacing larger than my target? The bar count is rounded down to a whole number of gaps, then the same span is divided evenly, which slightly increases spacing. To stay at or below your target, decrease the desired spacing input.
Does this include both slab directions? No — run the calculator once for each direction (length and width) to size a complete reinforcing mat.
What cover should I use? Cover depends on exposure and code; common slab-on-grade values range from 1.5 in to 3 in. Check your local building code or engineer of record.