What is the Crane Load Calculator?
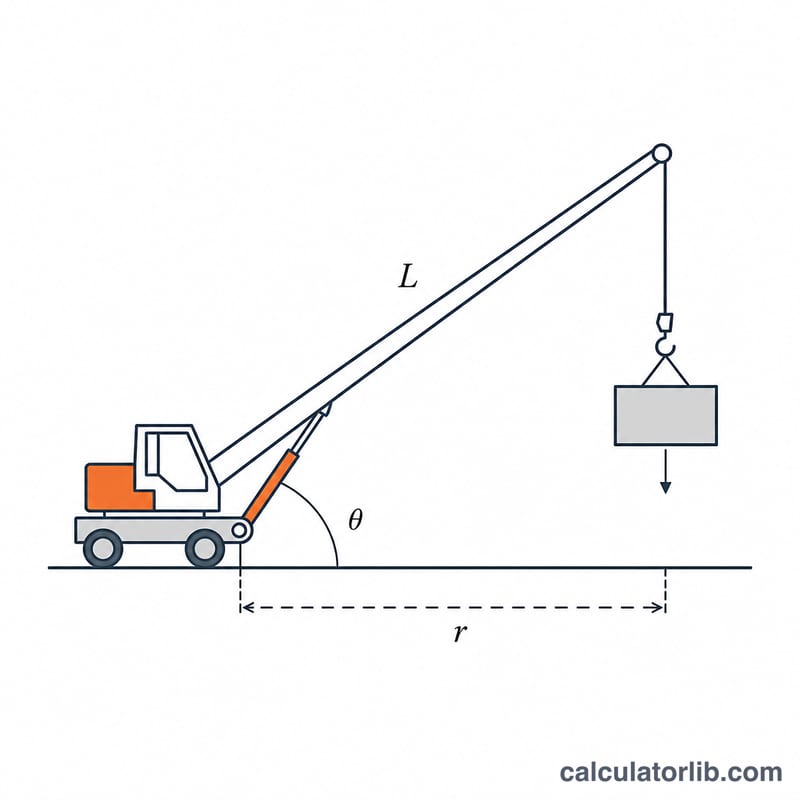
The Crane Load Calculator estimates the key lifting parameters that govern whether a crane can safely handle a load. It works from four values: the crane rated load moment \(M_{max}\), the load weight \(W\), the working radius \(r\) (horizontal distance from the slew center to the load), and the boom length \(L\). From these it returns the safe working load, the actual load moment, the capacity utilization and the boom angle.
The formula explained
Crane stability is governed by moments, not weight alone. The safe working load at a given radius is the rated moment divided by that radius:
$$\text{SWL} = \frac{M_{max}}{r}$$The load moment created by the actual lift is the weight multiplied by the radius, \(M = W \times r\), and utilization compares it to the rating, \(U = \frac{W \times r}{M_{max}} \times 100\%\). The boom angle follows from geometry: \(\theta = \arccos(r/L)\). Here \(M_{max}\) is in tonne-meters, \(r\) and \(L\) in meters, and \(W\) in tonnes.
How to use it
Enter the crane rated load moment from its load chart, the weight of the load, the working radius, and the boom length. The calculator shows the maximum load you may lift at that radius and how much of the rated capacity your lift consumes. Keep utilization comfortably below 100%.
Worked example
With \(M_{max}=100\) t·m, \(W=5\) t, \(r=10\) m and \(L=20\) m:
$$\text{SWL} = \frac{100}{10} = 10\ \text{t}, \quad M = 5 \times 10 = 50\ \text{t}\cdot\text{ m}$$$$U = \frac{50}{100}\times100 = 50\%, \quad \theta = \arccos\!\left(\tfrac{10}{20}\right) = 60^{\circ}$$The 5 t load uses only half the rated moment, so the lift is within limits.
Interpreting Your Utilization and Boom Angle
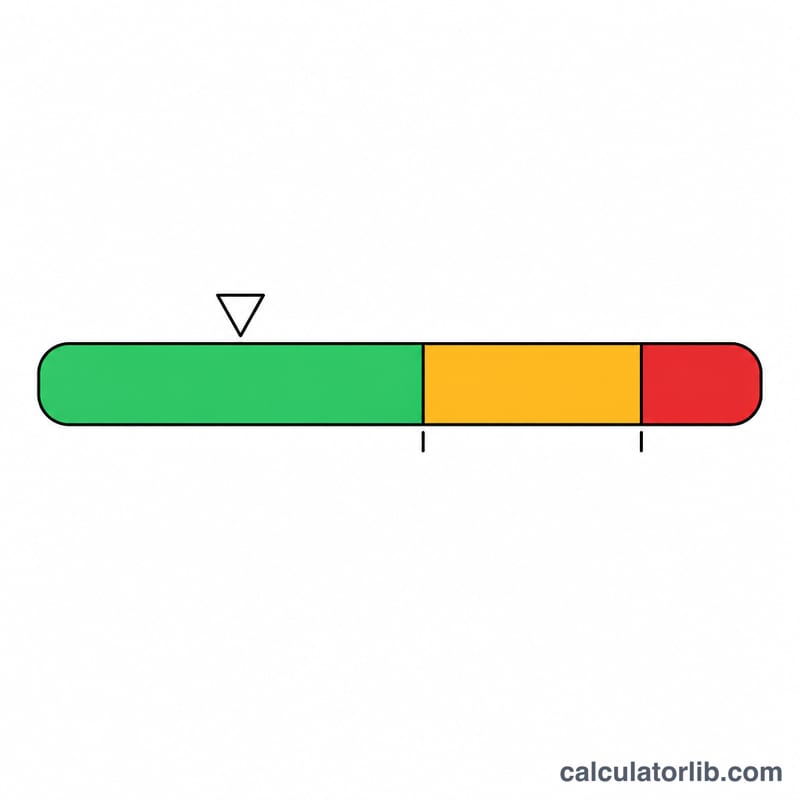
Utilization compares the load moment your lift produces, \(M = W \times r\), against the crane's rated moment \(M_{max}\). Read it in bands:
- Well below 100% — the load moment is comfortably within the rated moment, leaving margin for dynamic effects, wind, out-of-level and rigging weight.
- Approaching 100% — you are near the rated limit for that radius; small increases in radius, load or side loading can tip the lift over the edge.
- 100% or more — the load moment meets or exceeds the rated moment. This is an overload condition and is unsafe; the lift must be re-planned (shorter radius, lighter load, or a larger crane).
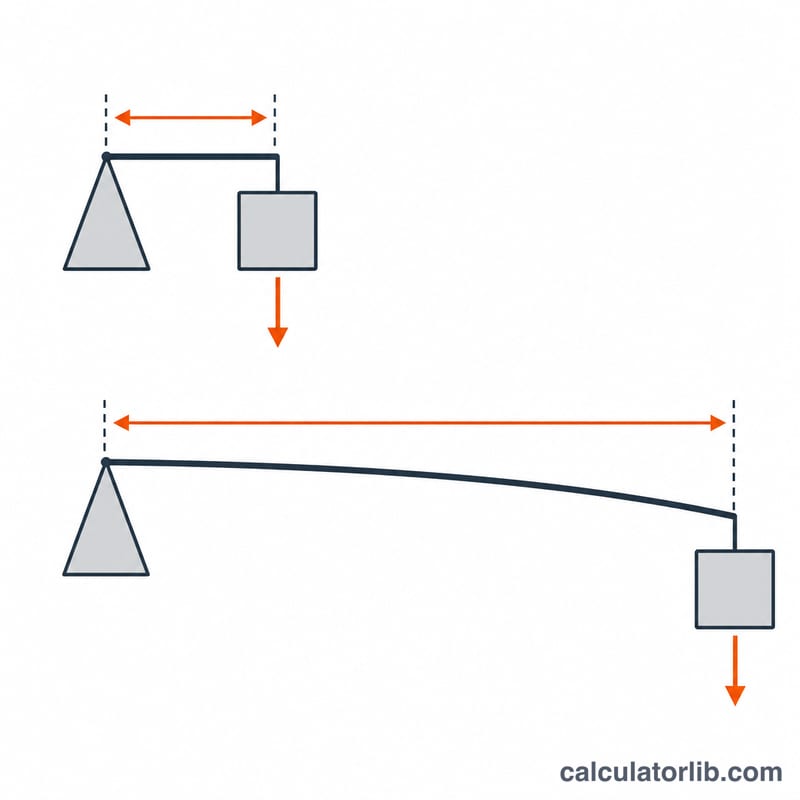
Boom angle and radius move together: a lower boom angle means a longer working radius and therefore a smaller safe working load, since \(\text{SWL} = \dfrac{M_{max}}{r}\). Raising the boom shortens the radius and increases capacity. The moment principle \(M = W \times r\) is why a modest load at a long radius can overload a crane that would easily lift a much heavier load close in.
The rated moment and the permissible load at each radius come from the specific crane's manufacturer load (capacity) chart, which already accounts for the machine's structure, counterweight and configuration. This calculator is a planning and cross-check aid only. It does not replace the load chart, and it does not replace a lift plan prepared and approved by a qualified rigging or lifting engineer; always confirm every lift against the actual chart and applicable local regulations.
This is general educational information, not professional engineering or safety advice for a specific lift.
FAQ
Is this a substitute for the crane load chart? No. Always follow the manufacturer load chart and a qualified rigging plan; this tool is for planning and education.
Why does capacity drop as radius grows? Because moment equals force times distance, a longer radius multiplies the overturning effect, so the allowable load falls.
What units are used? Load moment in tonne-meters, loads in tonnes, radius and boom in meters, and angle in degrees.