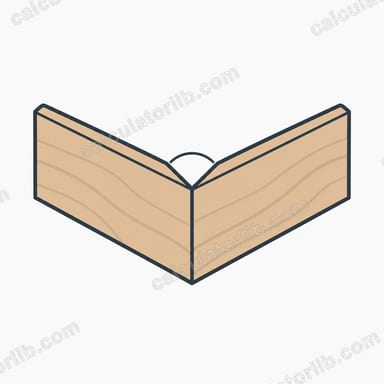
What is a compound miter?
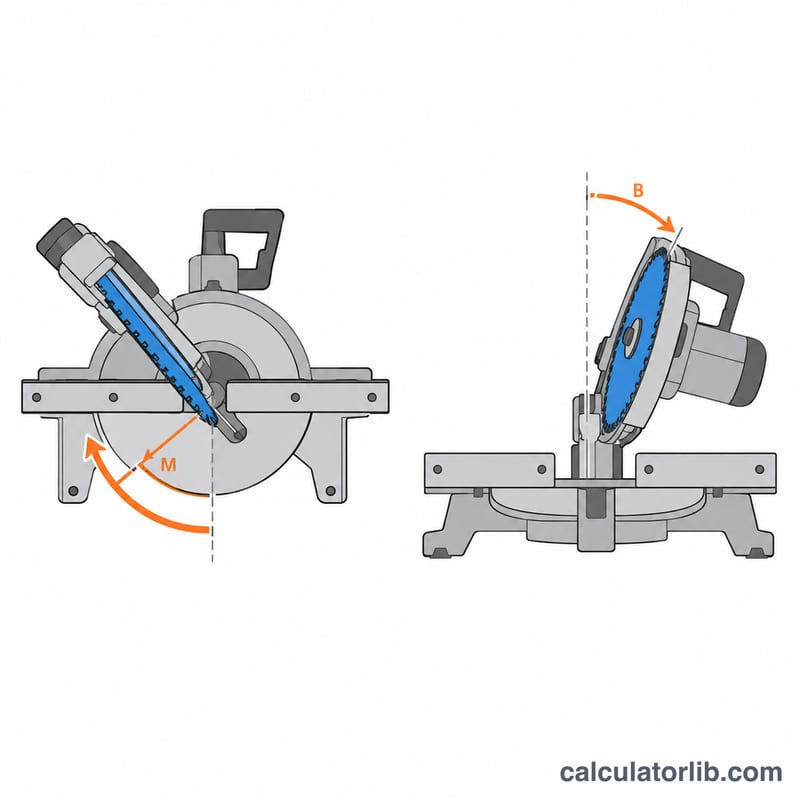
A compound miter is a cut that combines two angles at once: the saw table is rotated (the miter) and the blade is tilted (the bevel). You need one whenever the sides of a project lean outward or inward and also meet at a corner, as in splayed planters, hoppers, flared trays, lampshades and tapered columns. Guessing the settings produces gaps, because neither angle is simply half the corner angle once the sides slope.
How to use the calculator
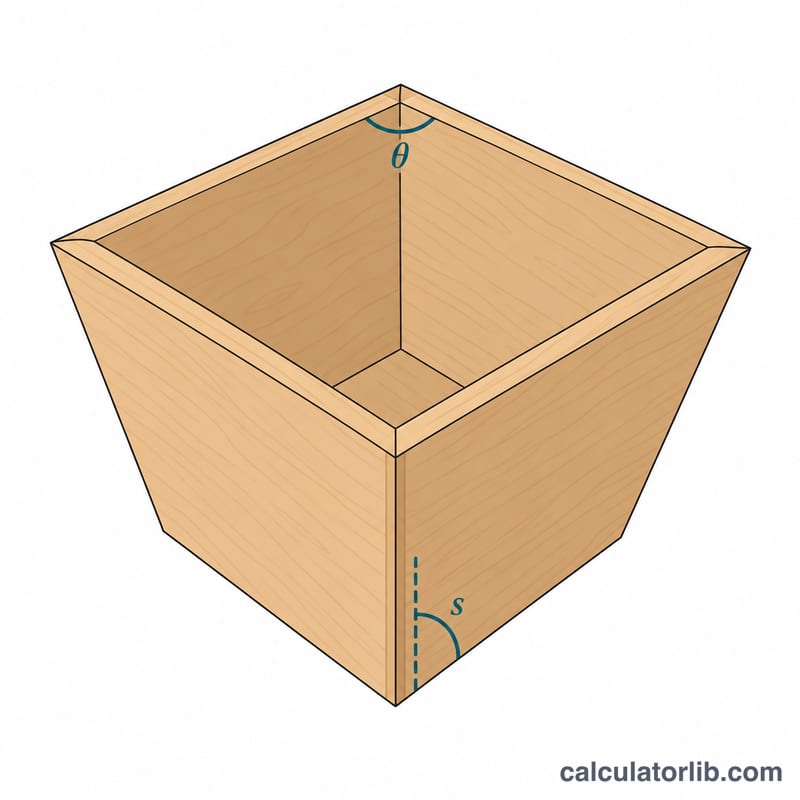
Enter the corner angle, which is the interior angle between two adjacent sides seen from directly above. That is 90° for a four-sided box, 120° for a hexagon and 135° for an octagon. Then enter the slope angle, which is how far each side leans away from vertical. A slope of 0° means straight walls, so the joint becomes a pure bevel. The results assume the board lies face down flat on the saw table.
The formula
Let \(C\) be the corner angle and \(S\) the slope from vertical. First find the half deflection angle \(\theta\):
$$\theta = \frac{180^\circ - C}{2}$$The two saw settings are then:
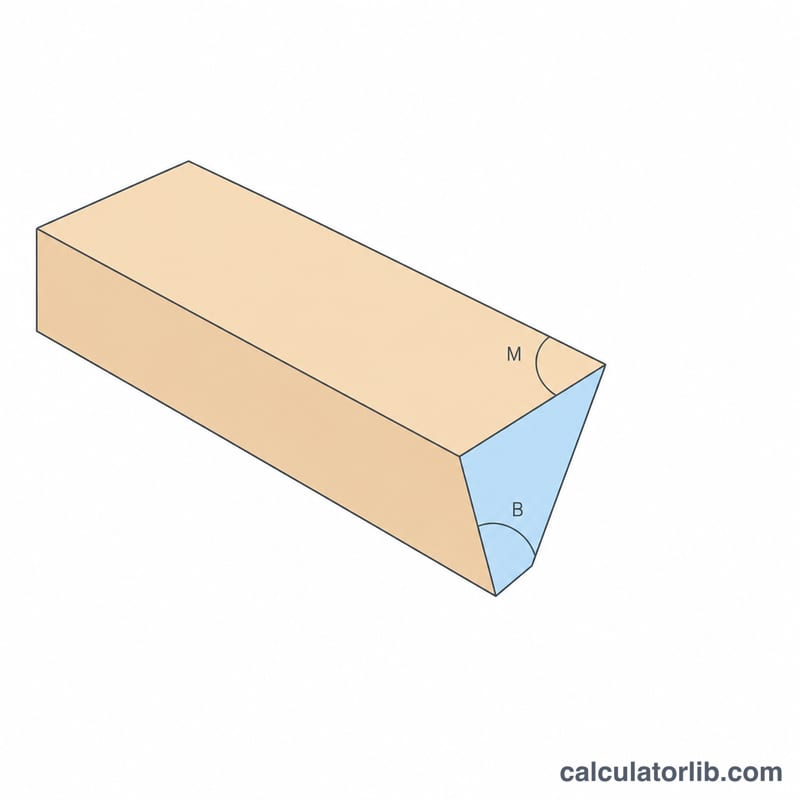
$$M = \arctan(\sin S \tan\theta), \qquad B = \arcsin(\cos S \sin\theta)$$Check the limits: with vertical sides (\(S = 0\)) the miter is 0° and the bevel equals \(\theta\). With sides lying flat (\(S = 90^\circ\)) the cut turns into an ordinary picture-frame miter of \(\theta\) with no bevel.
Worked example
Take a square planter (\(C = 90^\circ\)) whose sides lean out 45°. Then \(\theta = 45^\circ\):
$$M = \arctan(\sin 45^\circ \times \tan 45^\circ) = \arctan(0.7071) = 35.26^\circ$$$$B = \arcsin(\cos 45^\circ \times \sin 45^\circ) = \arcsin(0.5) = 30^\circ$$Set the saw to a 35.26° miter and a 30° bevel.
Setting Up Your Saw
- Check how your miter scale reads. Most miter saw scales read 0° for a square cut, so you can enter the calculated miter \(M\) directly. Some table-saw miter gauges read 90° when square. On those, set \(90^\circ - M\). For Example 1 that is \(90^\circ - 11.2^\circ = 78.8^\circ\).
- Check how your bevel scale reads. Most saws show 0° when the blade is vertical, which matches the calculator. Some saws or jigs measure the tilt from the table instead. Make a test cut and measure it with a protractor or bevel gauge before cutting good stock.
- If the bevel is more than your saw can tilt: stand the workpiece on edge against a tall auxiliary fence and cut at \(90^\circ - B\). This gives the same face angle using a smaller blade tilt. Clamp or hold the piece firmly, because a tall, narrow workpiece can shift during the cut.
- Mirror the settings for opposite ends. The two ends of each side lean in opposite directions. Cut one end with the miter turned left and the other with it turned right, keeping the bevel the same. Alternatively, flip the workpiece between cuts. Mark the inside face and the top edge of every part so the orientation stays consistent.
- Test-assemble from scrap first. Cut a full set of sides from scrap and dry-fit them. Small errors add up across every joint, so a 0.2° error on a six- or eight-sided piece can leave a visible gap at the last joint. Adjust the saw until the scrap assembly closes tightly.
- Cut parts slightly long. Make the first cuts a little oversize. Once the angles are proven, trim to final length so you can correct mistakes without wasting material.
- Keep settings repeatable. Cut matching pieces in batches without changing the saw. Use a stop block so every side comes out the same length.
FAQ
My saw cannot be set to two decimal places. Does that matter? Round to the nearest tenth and make test cuts in scrap. Small errors add up over every joint, so for boxes with many sides, trim the last joint to fit.
What if my plans give the slope from horizontal? Subtract it from 90° before you enter it. A side at 60° from horizontal is 30° from vertical.
Does crown molding use the same math? It does. Enter the spring angle as the slope and the wall corner as the corner angle, then cut the molding lying flat.